All Dubai areas · Homes and businesses · On-site, 24/7+971 55 209 9785
Home / Services / Keurig Coffee Repair

Keurig Coffee Machine Repair in Dubai: K-Classic, K-Elite, K-Mini and K-Duo

Same-day Keurig coffee machine repair in Dubai for homes and offices. K-Classic, K-Elite, K-Mini, K-Duo. Needles, scale, power and voltage faults. Genuine parts, 1-month warranty.

Reviewed by Abdul Suboor, Lead Engineer at One Click Dubai, 18 years of experience

Same day service at your home or officeAED 100 diagnostic visit, plus VATGenuine parts, 1-month warranty
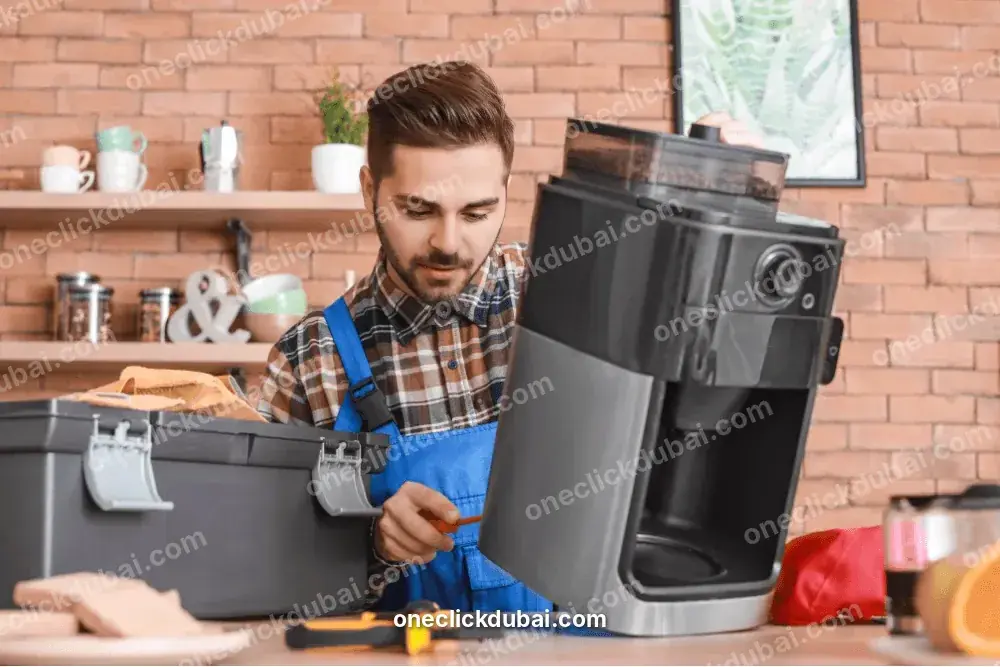
One Click Dubai technician repairing a Keurig coffee machine

Overview

Keurig's user guides and warranty are written for the United States and Canada, so a Keurig in Dubai is often an import. The K-Classic, K-Elite, K-Mini, K-Slim, K-Duo, K-Express and K-Compact all work the same way: a handle punctures a K-Cup pod top and bottom, and hot water runs through it into your mug. When one stops, the cause is usually a clogged needle, scale, a reservoir that is not seated, or something that Dubai adds to the list: a 120 volt machine on a 230 volt supply.

This page covers all of that using Keurig's own documents: the user guides for the K-Classic, K-Elite, K-Mini and the K-Slim and K-Duo pair, a troubleshooting manual that spans the older Elite, Classic, Platinum, Select and MINI Plus models, and Keurig's warranty page. Where the documents do not say something, such as the electrical rating, we say so. Retailer listings and forum threads are labelled as such. The honest headline is that Keurig's warranty covers brewers operated in the United States and Canada only, so in Dubai the repair question is usually ours to answer.

Book us and a technician comes to your home or office, normally the same day. He tells you the fault and the price before fitting anything, and finishes the job at your address when he can. A brewer that needs the workshop is collected from you.

Keurig coffee machine repair in Dubai: what we fix and what it costs

The diagnostic visit is AED 100 plus 5% VAT. Repairs then mostly cost between AED 80 and AED 400 depending on the part, and we agree the figure with you before starting.

Tell us the model and what the lights do before the visit, and a photo of the rating plate if you can read it.
Parts are genuine, and the price includes labour.
We give a one-month warranty on the part and the work.
We work at your address first. The workshop takes only what cannot be finished there.
FaultTypical workWhere it sits in the range
Brewer will not brew, handle fully downCheck the pod holder, needles, water path and pumpLower to middle
Partial cupsClear the exit needle, descale, check the reservoir seat and the pumpLower end
Grounds in the cupClean the needles and the pod holder, replace a worn holderLower end
Add water light stays onCheck the reservoir seat and the water sensorLower to middle
All size lights on or blinking togetherReset as the manual describes, then test the board and sensorsMiddle to upper
No power, or shuts off by itselfCheck the plug, the supply, the switch, then the boardLower to upper
Water leaksTrace the reservoir seal, the hoses and the holderLower to middle
Brewer damaged by the wrong voltageTest the board, the heater and the pump, then quote honestlyMiddle to upper
Slow flow after a long time without descalingDescale, then test the pumpLower to middle

Most Keurigs are inexpensive to replace. When a repair would cost about as much as a new brewer, we say so before you pay for it.

Which Keurig do you have?

Keurig's documents cover a wide range, and the controls differ by family. Match yours below, then use the matching section of this page.

FamilyHow you tell it apartWhat the documents say
K-ClassicSmall cup, small mug and large mug lights; a lift-up handleAuto-off after two hours; descaling takes about 35 minutes
K-EliteSize buttons 4, 6, 8, 10, 12 oz and ICED; a High Altitude modeAuto-off two hours after the last brew, in 15-minute steps; descaling takes about 45 minutes
K-MiniCompact, 6 to 12 oz mugs, minimum 6 oz of waterAuto-off after 90 seconds; descaling takes about 45 minutes
K-Slim and K-DuoOne manual covers both; the K-Duo also brews into a carafeAdd Water light is the only named warning
K-Express and K-CompactNewer single-serve models that a UAE retailer lists as importsNot stated

The model name is printed on the brewer and on the rating plate. Older models are listed in the troubleshooting manual as the Elite, Classic, Ultra, Special Edition, Ultimate, Platinum, Select, B155 and MINI Plus.

Our pod machine page for Nespresso and our page for Dolce Gusto cover the capsule brands. A K-Cup is not interchangeable with either, so the faults and parts differ.

A 120 volt Keurig on Dubai's 230 volt supply

They say only to plug the brewer into its own grounded outlet and not to share a circuit with other appliances. The voltage is on the rating plate, and the figures that we could find come from retailers and a Q&A site, not from Keurig.

SourceWhat it listsWhat kind of source
Desertcart UAE listing for the K-Compact120 volts, 1,000 watts, AC adapterUAE retailer listing
AskManual page for the Keurig 2.0120 volts, 1,470 watts, no frequencyThird-party Q&A site
Webstaurant listing for the K-Suite hospitality brewer120V in the product nameUS retailer listing
Keurig user guides (K-Classic, K-Mini, K-Slim and K-Duo)No voltageKeurig

The Desertcart listing says it buys the item for you and handles shipping, customs and support to the UAE. It does not say whether a 120 volt brewer is compatible with the UAE supply. The UAE runs at 230 volts and 50 hertz, so a brewer rated at 120 volts is being fed almost twice its design voltage if it goes straight into a UAE socket.

Read the rating plate on the base or back of your brewer. If it says 120V, it needs a step-down transformer, and the transformer must be rated for more watts than the brewer's plate shows.
If you are buying a Keurig in Dubai, ask the seller for the voltage before you pay, and for the plug type, because the UAE sockets are not the American 3-prong type.
If the brewer was plugged straight in and failed, switch it off at the wall and book a diagnosis instead of trying it again.
One forum thread, on iFixit, gave no steps and warned against doing it unless you know what you are doing. We do not suggest opening a brewer to change its supply.

The warranty exclusions printed in the K90 guide include inappropriate power supply, which is the clause that would apply to a brewer that failed on the wrong voltage.

Keurig warranty and service: what applies in Dubai

Keurig's warranty page says plainly: this warranty only applies to brewers operated in the United States and Canada. The same wording is in the K-Classic, K-Mini and K90 guides. The page gives a one-year limited warranty from the date of purchase, an extra 12 months for brewers that connect to Wi-Fi through the Keurig app at least once every 90 days, and 90 days on refurbished units.

PointWhat Keurig's page says
TerritoryBrewers operated in the United States and Canada
TermOne year, with a conditional further 12 months; 90 days if refurbished
ProofProof of the purchase date is required
ReturnDo not send a brewer back without first speaking to Keurig Customer Service, which issues a Return Authorization
Pods and partsNon-Keurig pods and accessories may not be covered, and parts that are not genuine Keurig parts are excluded
Other exclusionsService by anyone other than Keurig or its authorised providers, and misuse. The K90 guide also lists inappropriate power supply

What this means in Dubai: a brewer bought here or brought here is outside the territory the page states. The guides send you to Customer Service on a US toll-free number. We are an independent technician and not an authorised service partner of Keurig. Our repairs carry our own one-month warranty on the part and the work, and do not replace the maker's.

Keurig lights and messages

Keurig machines say little. The K-Classic and K-Elite use lights, and the K-Mini Plus has a blue water indicator and a display. The table follows the manuals.

What you seeWhat the manual saysWhat to do
Add Water light onThe water level is too low, or the reservoir is not seatedFill to the MAX line and seat the reservoir. If the light stays on, the manual says to contact Customer Service
Small cup, small mug and large mug lights all on (K-Classic)The brewer needs a resetRemove any pod, close the handle, put a large mug on the tray and press power once. Hot water may dispense
The same three lights all blinkingThe manual does not name the faultIt says to contact Customer Service
4, 6, 8, 10, 12 oz and ICED lights all on (K-Elite)Same reset as aboveRemove any pod, press power once, and the brewer may dispense hot water
4, 6, 8, 10 and 12 oz lights blinking together (K-Elite)The manual does not name the faultIt says to contact Customer Service
Mountain icon flashing (K-Elite)High Altitude mode is on, which blocks changing the temperatureThe manual gives no fix, because the mode is deliberate. The temperature stays as it is
Blue reservoir light blinking (older models)The water level is lowAdd water
Red Drip Tray Overflow indicator (MINI Plus)The tray is nearly fullTake the tray out and empty it into the sink
Time missing from the displayThe clock shows only after you set it, and a power cut clears itSet the clock again

The two blinking-together rows are the ones that need a technician. Keurig's documents send you to Customer Service for them. In Dubai that route is closed to most owners, so these are the faults we are booked for.

Troubleshooting a Keurig brewer

These are the entries in the K-Classic, K-Mini and K-Slim and K-Duo manuals, grouped by what you see.

Will not brew

ProblemCause and remedy in the manual
Brewer will not brewThe pod is not seated or the handle is not fully down. Push the handle down firmly and confirm that the brew buttons are flashing
The K-Mini will not brewIt needs a minimum of 6 oz of water. The manual says to add 2 oz, press brew and repeat until it dispenses
K-Slim or K-Duo not brewingNo water, a pod that is not seated, or an air bubble in the water line. Fill the reservoir, seat the pod, lower the handle, or run a cleansing brew without a pod
First brew after unpacking or storageThe internal hot water tank must be primed first. If the brewer was cold or frozen, wait two hours before priming

Partial cups and weak coffee

ProblemCause and remedy in the manual
A partial cupCauses: a clogged exit needle, scale, or the reservoir lifted off during brewing. Clean the needle, descale, or replace the reservoir and run a rinsing brew without a pod
Still partial cups after two descalesThe manuals say to contact Customer Service
Weak coffee on a K-Slim or K-DuoA pod meant for a larger brew size, too little ground coffee in the K-Duo basket, or scale. Pick a smaller size, add coffee or descale

Grounds, power and water

ProblemCause and remedy in the manual
Grounds in the cupGrounds have collected in the exit or entrance needle. Clean both with a straightened paper clip
No power or shuts offThe power button is off, the circuit is overloaded, or auto-off has triggered. Press power, and use a separate grounded outlet
Shuts off or turns on by itselfCheck the Auto Off and Auto On timers in the menu. Both should read OFF
Add Water stays on after fillingMake sure the reservoir is fully seated, then take it out and put it back

Anything that survives these remedies is on our list. A brewer that still gives partial cups after two descales, one that stays dead with a good outlet and one that shows the blinking-together lights fall into that group.

Priming, and why a new or stored Keurig will not brew

The troubleshooting manual says the internal hot water tank of a Keurig must be primed before the first brew. The K-Classic guide gives the first-use routine in its own words.

1
Set up

Remove the packing tape, plug the brewer in and put a mug of at least 12 oz on the drip tray plate.

2
Fill the reservoir

Take it off, rinse it with fresh water, fill it to the MAX line and refit it so the lock tabs engage. Do not use distilled water.

3
Power on

Press the power button. The green light comes on and heating takes about three minutes.

4
Cleansing brew

Lift and lower the handle without a pod. Press the small cup button and pour the water into the sink.

If the brewer has been below freezing, the K-Classic and K-Mini guides say to let it reach room temperature for at least two hours before use.
The K-Mini guide says to empty the reservoir before storing or transporting the brewer, and the K-Classic guide says to store it upright in a place that does not freeze.

If a cleansing brew gives nothing at all, with the reservoir full and seated, the cause is a blocked path or a failed pump, and that is a repair.

The needles: clearing grounds and partial cups

A K-Cup is pierced twice. One needle in the lid of the brewer pushes water in, and a second needle in the pod holder lets the coffee out. Grounds and cocoa mix collect at both.

The exit needle

1
Open

Switch off, unplug, lift the handle and take out the pod holder.

2
Remove the funnel

Pull the funnel out of the holder.

3
Clear

Put a straightened paper clip into the exit needle on the inside bottom of the holder and work it to dislodge the clog. The Keurig troubleshooting manual notes that you cannot poke it all the way through, because the opening is on the side of the needle.

The entrance needle

1
Lift

Hold the handle up.

2
Probe

Carefully put a straightened paper clip into both holes on the underside of the lid and work it gently to loosen grounds.

3
Test

Lower the handle fully and run two water-only brews without a pod.

The needles are sharp, and the manuals say to keep your fingers out of the holder.
Hot water is present during brewing, so do not lift the handle while it is running.
Unplug the brewer before you touch the needles.

The troubleshooting manual adds one useful check after cleaning: run a small-cup cleansing brew and look for grounds, and repeat until none appear. If grounds keep coming, the pod holder or the needle is worn, and that is a part we replace.

Reusable filters and non-Keurig pods

The troubleshooting manual covers the My K-Cup reusable filter. It says to use a coarse grind and to fill the mesh basket only to the bottom of the brown band, which it puts at about 2.5 tablespoons. That is its remedy for grounds in the cup.

The K-Duo manual covers the same issue from the other side: grounds in the cup can come from a pod that was punctured incorrectly or from ground coffee overflow, and weak coffee from too little ground coffee in the K-Duo basket.

The K-Classic guide says non-Keurig pods and accessories may void coverage or lead to a service fee.

Descaling a Keurig

Keurig's guides agree on the shape of a descale and differ on the details, so read the one for your model.

ModelFrequencyTimeSolution
K-Classic and K90 guideEvery 3 to 6 months, more often if the water leaves depositsAbout 35 minutesThe full bottle of Keurig Descaling Solution, topped up with an equal bottle of water
K-EliteNot statedAbout 45 minutesThe full bottle, with the empty bottle refilled with water
K-MiniEvery 3 to 6 monthsAbout 45 minutesOne third of a bottle (4.6 oz) per step, with fresh water to the 10 oz fill level
K-Slim and K-DuoEvery 3 to 6 months, or more often with hard waterNot statedAn entire bottle
Older models (troubleshooting manual)At least every 6 months, or every 3 months if the water is high in mineralsNot statedNot stated

The last row is a real conflict. The current guides names Keurig Descaling Solution, and the older troubleshooting manual names white vinegar. Use whichever your own guide names.

The K-Classic and K-Elite routine

1
Prepare

Use a large ceramic mug, not paper. Take any pod out of the holder. Power off and empty the reservoir.

2
Solution rinse

Pour in the whole bottle of solution, fill the empty bottle with water and add that, power on and run a rinsing brew on the largest size.

3
Rinse and repeat

Keep brewing without a pod until the Add Water light comes on. Leave the brewer on for at least 30 minutes, then throw away what is left in the reservoir and rinse it well.

4
Fresh water

Fill to the MAX line and run at least 12 rinsing brews on the largest size without a pod, refilling as needed.

The K-Mini routine has three parts in its guide: a cleansing rinse, an internal tank soak of at least 30 minutes, and a fresh-water rinse of 12 oz repeated two more times. Add rinses if a taste remains.

When the descale does not go to plan

Foam is normal.
If a heavily scaled brewer then gives little or no water and you hear air blowing out, the manuals say to unplug it, throw the solution away, rinse the reservoir, refill with fresh water and repeat the fresh-water rinse.
If that does not clear it, leave the brewer unplugged for at least 30 minutes before rinsing again.
If it still gives partial cups after two descales, the manuals send you to Customer Service. For us, it is the point at which we test the pump.

Scale is described as non-toxic, but it can reduce performance if left alone.

Water: what the Keurig manuals say about it

Do not use distilled water. The K-Classic and K-Mini guides both say so.
Fill between the MIN and MAX lines. The K-Mini guide says not to overfill and not to run below MIN.
The K-Mini guide suggests bottled or filtered water if you dislike the taste of chlorine or minerals.
Hand wash the reservoir and lid with a damp, soapy, non-abrasive cloth and rinse them well. The K-Classic guide says not to put them in the dishwasher.
Do not dry the inside of the reservoir with a cloth, because lint may remain.
Rinse the filter screen at the base of the reservoir under strong running water, or shake the reservoir with about two inches of water in it, and repeat as needed.

A reservoir that does not seat is the cause behind several faults on this page: Add Water that will not clear, partial cups and the brewer that will not start. Check it before anything else.

Power: no power, auto-off and tripping

ModelAuto-offSource
K-ClassicAfter two hours of inactivityK-Classic guide
K-EliteTwo hours after the last brew, adjustable in 15-minute stepsK-Elite manual
K-Mini and MINI PlusAfter 90 seconds idleK-Mini guide and troubleshooting manual
A brewer with no power may have switched itself off. Press the power button and look for the green light.
The manuals say to plug the brewer into its own grounded outlet, because an overloaded circuit can stop it working.
The troubleshooting manual says to test the outlet with another appliance, and to check a GFI outlet for a trip.
On the Platinum, the manual says the power switch is on the back or bottom.
The K-Duo manual says not to operate the brewer with a damaged cord or plug, or after it has malfunctioned.

In Dubai the extra check is the plug and the supply. If the brewer was ever connected through an adapter that is only a plug shape converter, and the plate says 120V, the supply is wrong for it. See the section on voltage above.

Cleaning a Keurig between descales

PartWhat the K-Classic guide says
ExteriorWipe with a damp, soapy, lint-free, non-abrasive cloth. Do not immerse the brewer
Drip trayHolds up to 8 oz. Slide it out level to avoid spills. Clean it on the top dishwasher rack or by hand
Reservoir and lidHand wash. Do not use the dishwasher. Rinse thoroughly so no residue reaches the water
Filter screenRinse under strong running water, or shake the reservoir with two inches of water
Pod holderLift the handle and push the holder up from underneath to remove it. Refit by lining it up with the front ribs and snapping it in from the top

The K-Slim and K-Duo manual puts the pod holder and funnel on a dishwasher's top rack, and the K-Duo carafe and lid on the top rack too. Always unplug the brewer before cleaning.

Safety

While brewing, there is extremely hot water in the pod holder. Do not lift the handle during a brew.
The needles in the holder are sharp. Keep your fingers out.
Turn the brewer off and unplug it before cleaning, and never immerse it in water or any other liquid.
Do not use a brewer with a damaged cord or plug.
The K-Duo manual says not to use it outdoors, to keep the cord off table edges and hot surfaces, and to supervise children closely when they are near it.
The same manual says to leave servicing beyond cleaning and descaling to an authorised service representative.
A brewer that smells of burning, trips the breaker or has been running on the wrong voltage should be unplugged and left alone.

Keurig's own pages list no authorised provider in the UAE, so for anything beyond cleaning and descaling you are choosing an independent technician.

Care routine for a Keurig

TaskHow oftenSource
Empty the drip trayWhen the tray fills; 8 oz in the K-ClassicK-Classic guide
Empty the reservoir before storing or transportingEach timeK-Mini guide
Rinse the filter screenAs neededK-Classic guide
Clean the needlesWhen grounds or partial cups appearManuals
DescaleEvery 3 to 6 months; more often with depositsManuals

The user guides name Keurig Descaling Solution, so keep a bottle in the cupboard before the Add Water light and the partial cups start.

Signs that are normal on a Keurig

What you seeWhat is happening
Foam during a descaleThe manuals call it normal
Hot water from the spout after a resetThe manual says the brewer may dispense hot water when you press power to clear the lights
A K-Mini that switches itself offIts guide gives 90 seconds idle
A K-Classic that is off in the morningIts auto-off is two hours
The clock is blank after a power cutSet it again
A mountain icon when you try to change the temperature on a K-EliteHigh Altitude mode blocks the change

A sign that returns after the action in the table is a real fault.

What happens on a visit

1
Booking

Message us the model name, what the lights do and what you have tried.

2
Arrival

The technician reaches you the same day when the diary allows.

3
Supply first

Before opening anything he reads the rating plate and looks at what the brewer is plugged into, because a wrong supply explains many dead Keurigs.

4
Diagnosis

Needles, pod holder, water path, pump, heater and board are tested in the order the symptoms suggest.

5
Quote

You get the price first, and no part goes in until you agree.

6
Test

He brews a cleansing cycle and then a cup, so you see it working.

7
Cover

The new part and his labour are under warranty for a month.

If the brewer cannot be finished at your address, we take it to the workshop and tell you the reason and the day it returns.

Repair or replace a Keurig?

Our own rule is to price a new brewer of the same model and think twice about a repair that costs half as much.

A needle, pod holder, seal or reservoir fault is a normal repair.
A pump that does not move water, after a descale and a clean reservoir seat, is a likely repair.
A board or heater that failed after plugging a 120 volt brewer into 230 volts is the case to price carefully against a new brewer, and against a transformer.
If you are replacing it, ask the seller for the voltage and the plug first.

If you decide to replace, the diagnosis is still charged, and the quote is yours to keep.

Before you message us

Is the reservoir full, between MIN and MAX, and seated so the lock tabs engage?
Is the handle fully down, with the brew buttons flashing?
Have you cleaned both needles and run two water-only brews?
Have you descaled in the last six months?
Is the brewer on its own grounded outlet, and does the rating plate match the supply?
Did you press power to see if it had switched itself off?

If none of these fixes it, unplug the brewer and get in touch.

What to tell us when you book

The model name from the front or the rating plate.
The voltage and wattage on the plate, if you can read them.
What the lights are doing, and whether they are steady or blinking.
Where the brewer was bought and how it was plugged in.
When it was last descaled.
Your area.

Mention any fixes from this page that you have already tried, so we do not repeat them.

Keurig coffee machine repair near me: areas we cover

Our technicians cover Dubai Marina, JBR, Palm Jumeirah, JLT, Downtown, Business Bay, Jumeirah, Al Barsha, Dubai Hills and Deira for Keurig brewers. If you are further out, ask and we will tell you straight away.

Frequently asked questions

How much does a Keurig repair cost in Dubai?

The visit is AED 100 plus VAT. Most repairs then cost AED 80 to AED 400, and you approve the figure before work begins.

Is there a Keurig service centre in Dubai?

Keurig's warranty page says it applies only to brewers operated in the United States and Canada. We are independent of Keurig.

Can I use a US Keurig in the UAE?

A UAE retailer lists the K-Compact at 120 volts, and the UAE supply is 230 volts, so it needs a step-down transformer rated for more watts than the plate shows. Read the plate first.

Why does my Keurig only make half a cup?

The manuals list a clogged exit needle, scale or a reservoir removed during brewing. Clean the needle, descale, and run a rinsing brew.

Why are there grounds in my coffee?

Grounds have collected in the exit or entrance needle. Clean both with a straightened paper clip and run a cleansing brew.

My Keurig says Add Water but the tank is full.

Seat the reservoir fully, take it out and put it back. If it stays on, the sensor needs a look.

What do the blinking size lights mean?

The manuals do not name the fault and send you to Customer Service. In Dubai, that is a visit from us.

How often should I descale a Keurig?

The guides say every 3 to 6 months. The older troubleshooting manual says every 6 months, or every 3 in mineral-heavy water.

Can I use vinegar to descale a Keurig?

The current guides name Keurig Descaling Solution. The older troubleshooting manual names undiluted white vinegar. Use what your guide says.

Why will my new Keurig not brew?

The internal tank must be primed first. Run the cleansing brew from the first-use routine, and wait two hours if the brewer was cold.

Why does my Keurig keep turning off?

The K-Classic switches off after two hours, the K-Elite after two hours in 15-minute steps and the K-Mini after 90 seconds. Check the auto-off settings.

Is it worth repairing a Keurig?

A needle, holder, seal or pump fault usually is. For a board damaged by the wrong voltage, compare the quote with a new brewer.

Book a Keurig coffee machine repair

Reach us on WhatsApp at +971 55 209 9785. Include the model name, the fault or lights, and your area.
Our previous work

Photos from jobs we have done in homes and businesses across Dubai.

See all our work →
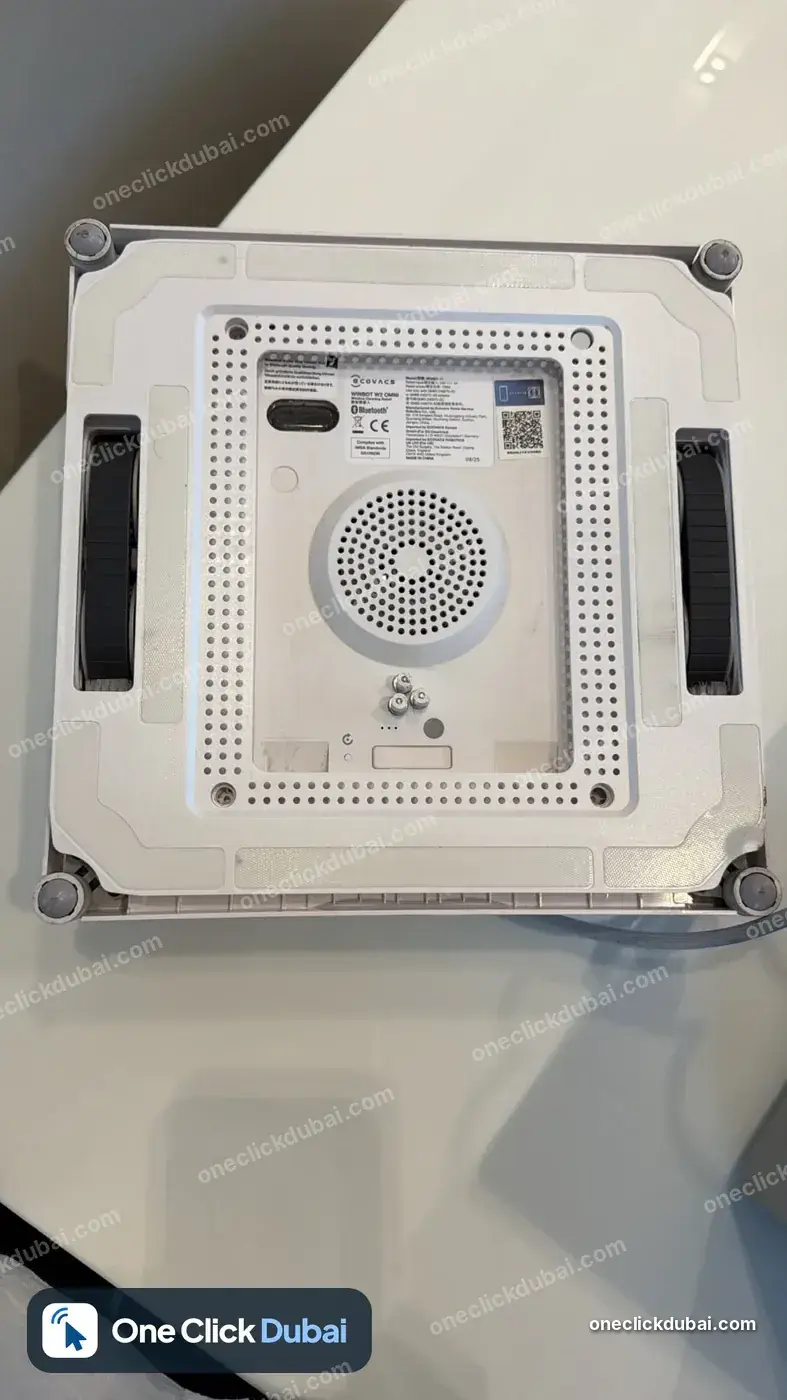
  • Window-cleaning robot, underside
    Window-cleaning robot, underside
  • Two drum vacuum cleaners
    Two drum vacuum cleaners
  • Bean-to-cup coffee machine
    Bean-to-cup coffee machine
  • Shark vacuum battery compartment
    Shark vacuum battery compartment
  • Siemens dishwasher display showing E:19
    Siemens dishwasher display showing E:19
  • Shark cordless vacuum floor head
    Shark cordless vacuum floor head
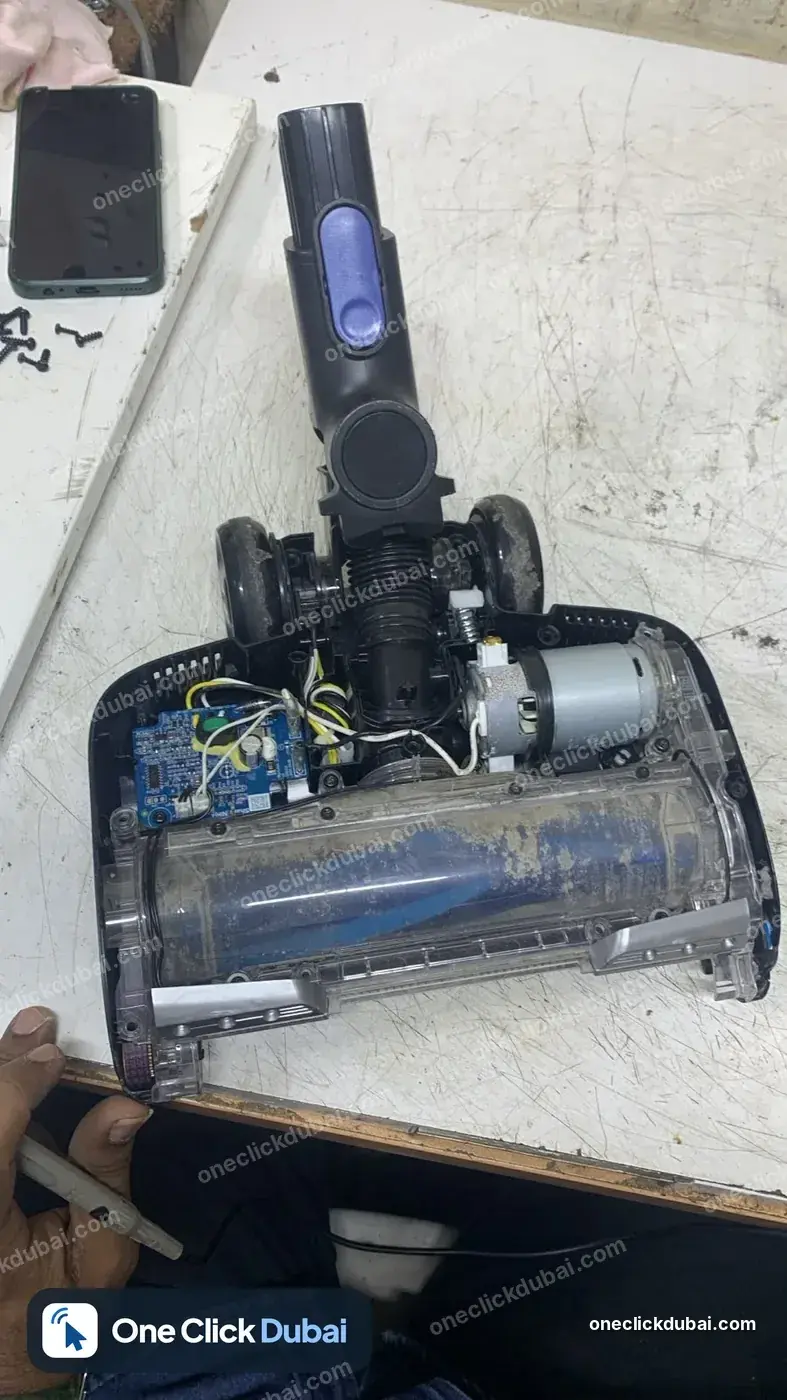
  • Vacuum brush head opened to show the motor and board
    Vacuum brush head opened to show the motor and board
  • Dyson V15 cordless vacuum in its box
    Dyson V15 cordless vacuum in its box